When I first graduated as a 3D artist, the first time I ran into version control was absolutely daunting. I had never used a system like that before, so I was really nervous. If you feel the same, keep on reading; it gets easier to understand, and once you do, you realize how much safer it is to use version control!
Version control makes experimentation safer and allows you to ship games faster. Basically, it’s a system and safety net that remembers every meaningful change, lets you branch off to try ideas, and allows multiple users to work on one project. You’ll always know what changed, when, why, and who made the change.
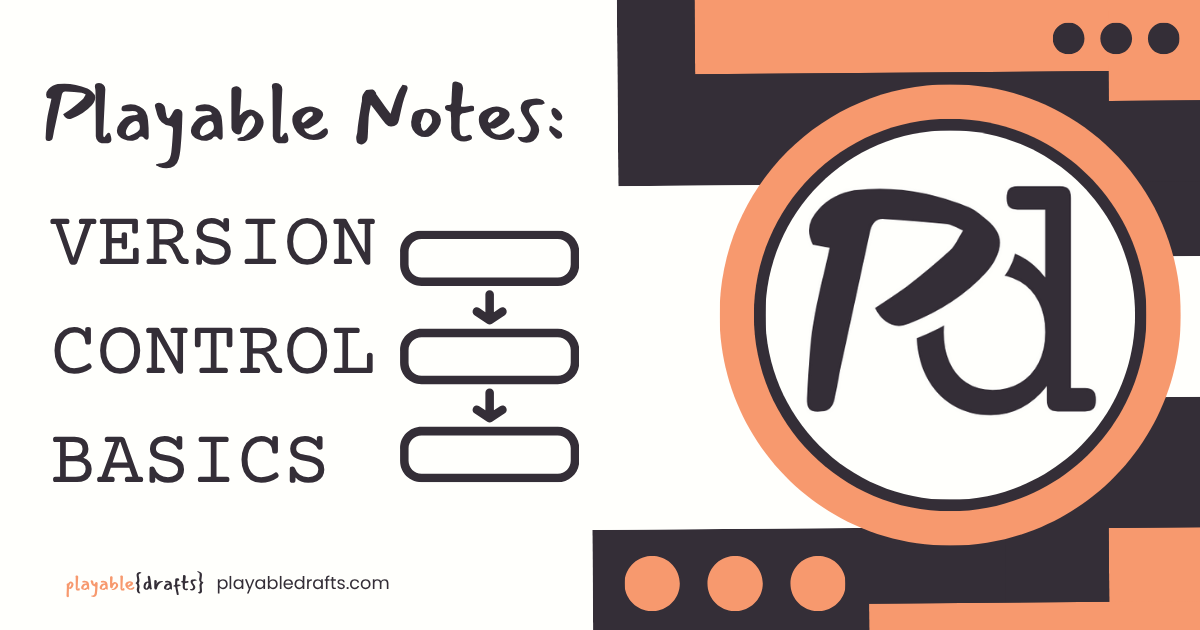
What you’ll get from this Note
- An understanding of how version control works
- A simple, repeatable workflow example
- How to avoid the most common mistakes
- A mini challenge to practice on a tiny project
If you’re building games, tools, or creative projects of any kind, version control can turn “please don’t break” into “go explore.”
What Is Version Control?
Version control is a system that tracks changes to project files over time. You can see who changed what, when, and why. You can go back to earlier versions if needed. You can also work on features safely, and separately, without breaking the main project.
There are lots of version control tools out there, but the most notable, common ones are Git, Perforce, and Unity Version Control (previously Plastic SCM).
Core Terminology for Version Control
General Terms
- Repository (repo): The main project folder that is tracked
- Commit: A snapshot of changes, usually with a comment made by user describing changes made
- Branch: A separate version of the project where you can experiment without touching the main project
- Merge: Bring changes from one branch into another
- Conflict: When two changes touch the same code or files. You can edit them manually by choosing either change (or parts of both) before committing.
- Remote: The hosted copy of the repository (e.g., GitHub, GitLab, Perforce server, Unity Cloud)
Git Terms
- Staging area: Holds selected changes that are not yet committed and lets you choose what to include in the next commit.
- Push: Send your local commits to the remote repo
- Pull: Combines fetch + merge (or rebase) to bring remote changes into your local branch.
- Clone: Create a full local copy of a remote repository, including history and working directory.
- Fork: Your own online copy of someone else’s repo so you can propose changes.
- HEAD: Git’s pointer to your current commit and branch.
- .gitignore: A file that tells Git which files or folders to skip.
- Remote: The hosted copy of the repository (e.g., GitHub, GitLab)
Perforce Terms
- Changelists: Sets of files you plan to submit together.
- Shelves: A way to temporarily store or share pending work without submitting.
- Workspace: A client workspace where files from the depot are synced for editing.
- Sync: Updates your workspace to match the depot; merging and resolving happen in separate steps.
- Depot: The central storage location for all project files.
- Streams: Perforce’s branching model that defines relationships and flow between branches.
Unity Version Control Terms
- Repositories: The central storage for project data; each branch lives inside a repository.
- Changesets: Equivalent of commits; snapshots of project state.
- Branches: Versions of the project used for parallel work (sometimes also referred to as repositories in Plastic SCM terminology).
- Workspaces: Local working copies of a branch where you do edits.
- Shelves: A way to temporarily store or share pending work without submitting.
Tip: short, clear commit comments help everyone in the process. Write them like “Fixed material for mirrors” or “Added footstep sounds.”
Simple Breakdown of Version Control Workflow
This is a very simple breakdown of how the version control workflow is for a typical user:
- You work in your own local repo and edit files there
- Your changes are staged (Git) to decide if they should be kept
- You commit those staged changes with a short comment describing them
- You push commits to the remote (usually your feature branch) and open a Pull Request or Merge Request to bring them into the main branch
- Teammates pull your changes to their local repo, and you pull theirs
- You use branches to experiment without breaking the main project
- When a feature is ready, you merge it back into the main branch
A Solo Dev Version Control Workflow
- Create a repository for your project
- Make a first commit to push, like “initial project files”
- Create a branch when you start your first feature or task, like “feature-menu-ui”
- Finish your work and commit in small, incremental steps
- Merge the feature branch into the main branch when complete
- (Optional) Delete the branch after merging to keep things tidy
Essentially: small, consistent commits keep things organized and easy to backtrack. Branches keep experiments isolated. The main branch stays stable.
Common Mistakes and How to Avoid Them
Keep in mind that a lot of these apply to solo developers. For some of these mistakes, such as only working on main, your leadership team would tell you which branch to work on. Granted, you could still accidentally work on main but wanted to clarify that some of these aren’t as common depending on your role & team pipeline. Always make sure to follow your studio’s SOPs first and foremost!
- Not pulling first: If you are working on a team, it’s crucial to pull changes both before you start working and before pushing changes. You don’t want to accidentally overwrite a colleague’s work, resulting in a messy merge situation.
- Large, unclear commits: Break work into small, focused commits with clear comments so you can revert or review specific changes without issue.
- Working on main: Do real work on a feature branch so experiments stay isolated and the main branch remains stable for builds and demos.
- Fear of conflicts: Conflicts are normal! Don’t avoid collaboration in order to dodge them. Open the marked files, choose the correct lines (or parts of both), test, and commit the resolution. Some teams use file locking to avoid conflicts, especially on bigger files.
- Committing secrets: Never commit API keys, passwords, or sensitive data. Use .env files or secret managers instead and rotate any credentials immediately if they leak.
If You’re Unsure, Follow This Checklist
- Did I pull changes before starting work?
- Am I on the correct branch for my workflow?
- Are my commits small and commented clearly?
- Did I ignore build and cache folders?
- (In a team) Did I open a Push Request from my branch and get a review before merging into main?
- (For solo devs) Did I push the changes to main?
Free Resources To Learn More
- GitHub: GitHub Docs
- Perforce: P4 Documentation | P4 Help
- Unity Version Control (Plastic SCM): Getting started with Unity Version Control
These are some resources directly from some of the top version control software companies. If you’re still anxious about using version control, these can solidify your confidence along with this post.
In Conclusion (with Mini Challenge!)
Version control is just a timeline of snapshots with labels. Branches let you explore without risk and merges bring good work back to main. This is key while collaborating with colleagues on the same project.
Mini challenge: Create a repo for a tiny project. Make three commits that each do a different thing. Then create a branch, change one file, and merge it back. Push to a new repo so you have a backup. Even if you’re not a dev, doing a simple practice like this can build your confidence in a team environment!